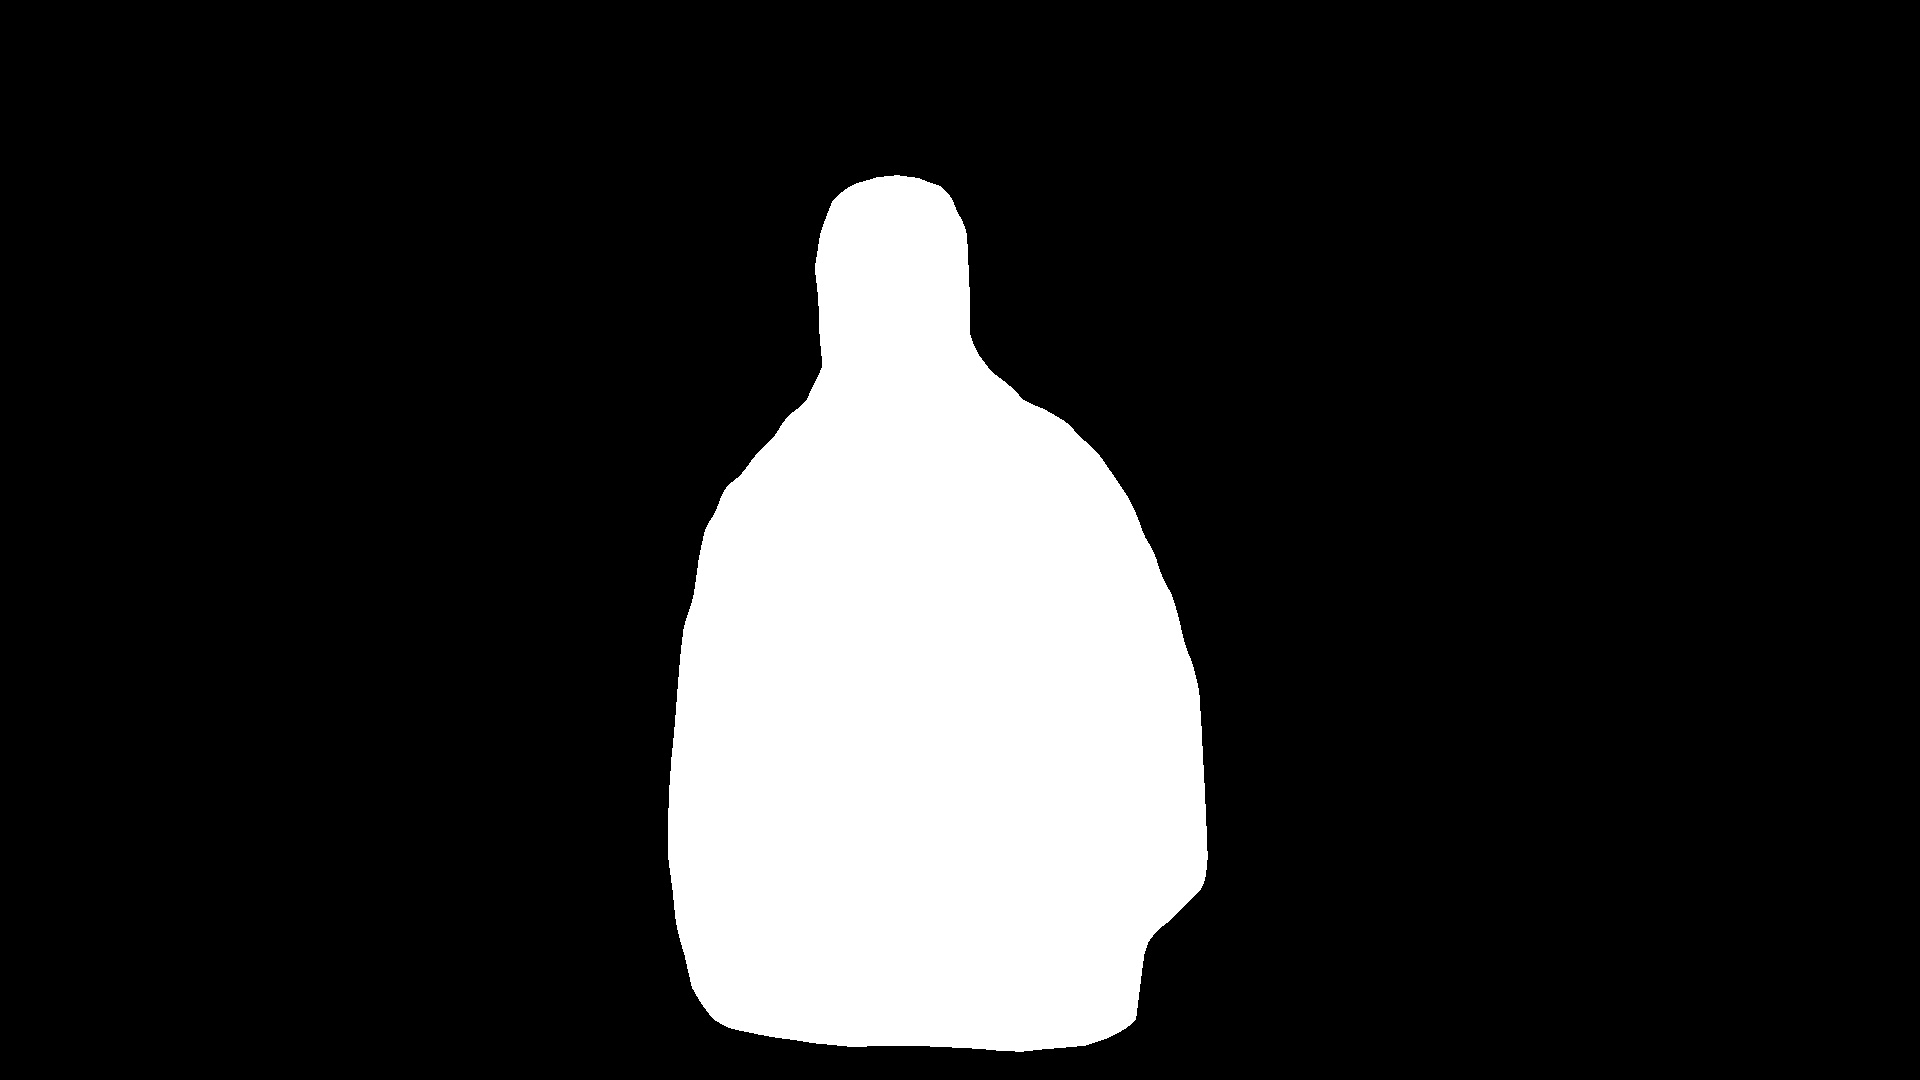
注意:请使用conda创建新环境安装,否则可能会出现各种各样的bug
实现思路:
使用pixellib把视频的人使用实例分割,存储为灰度图,如果有多个人则合并成一张图。每一帧存储为一张遮住图
import cv2
import numpy as np
from pixellib.instance import instance_segmentation

class VideoProcessor:
    def __init__(self, videoFile):
        self.videoFile = videoFile
        pass

    def video2mask(self):
        instance = instance_segmentation()
        instance.load_model('./data/mask_rcnn_coco.h5')
        target = instance.select_target_classes(person=True)

        cap = cv2.VideoCapture(self.videoFile)
        frame_index = 0
        while True:
            ret, frame = cap.read()
            if not ret:
                print("视频处理完毕")
                break

            target_class = instance.select_target_classes(person=True)
            result, output = instance.segmentFrame(frame=frame, show_bboxes=True, segment_target_classes=target_class)
            person_num = len(result['class_ids'])
            if person_num > 0:
                print('第' + str(frame_index) + '帧,检测到' + str(person_num) + '个人')
                masks = result['masks']

                black_mask = np.zeros(frame.shape[:2], dtype=np.uint8)

                for i in range(person_num):
                    print('第' + str(frame_index) + '帧,检测到第' + str(i + 1) + '个人的脸部')
                    black_mask = np.where(masks[:, :, i], 255, black_mask)

                mask_file_name = './masks/' + str(frame_index) + '.jpg'
                cv2.imwrite(mask_file_name, black_mask)

            frame_index = frame_index + 1

            cv2.imshow('frame', output)
            if cv2.waitKey(10) & 0xFF == ord('q'):
                break
        cap.release()
        cv2.destroyAllWindows()
        pass


vp = VideoProcessor('./data/video.mp4')
vp.video2mask()
最后输出如下结果,中间空白部分用来判断是否需要透明

- 将视频读入,将遮罩图读入,通过黑白来判断这个地方是否需要展示弹幕
- 创建蒙版层,将透明度设置为0
- 将文字创建在蒙版上
- 用np.where判断遮住图的(0,0)等是否为255,如果是说明这个地方是人,那么这个像素的alpha通道就显示为0透明,否则就显示蒙版的像素
注意:创建遮住代表全部透明,嵌入文字后文字地方不透明,最后再修改整个遮住透明度,因为这个时候文字已经嵌入,和遮住合并为一体了
from random import randint

import cv2
import numpy as np
from PIL import Image, ImageDraw, ImageFont
import matplotlib.pyplot as plt

frame_index = 0
width = 0
height = 0
font_size = 40
lane_center = font_size / 2
lane_num = 0
color = (255, 0, 255, 0)
cap = cv2.VideoCapture('data/video.mp4')
while True:
    # 读取图片
    ret, frame = cap.read()
    # 设置每帧的宽高,和泳道lane数量
    if width < 1 or bool(height) < 1 or bool(lane_num) < 1:
        width = frame.shape[1]
        height = frame.shape[0]
        print(frame.shape[0])

        lane_num = height / font_size

    if not ret:
        print("视频处理完毕")
        break
    # 获取遮罩图片
    mask_bg = cv2.imread("./masks/" + str(frame_index) + ".jpg", cv2.IMREAD_GRAYSCALE)
    print(mask_bg.shape)

    # 创建蒙版
    bg = Image.new("RGBA", (width, height), (255, 0, 255, 0))

    # 设置字体
    font_style = ImageFont.truetype("./MSYH.TTC", 80, encoding="utf-8")
    # 写字
    draw_bg = ImageDraw.Draw(bg)
    draw_bg.text((0, font_size * randint(1, lane_num) - 20), "当前第:" + str(frame_index), fill=(0, 0, 0, 255), font=font_style)
    rgba_bg = np.array(bg)
    # 设置透明区域
    rgba_bg[:, :, 3] = np.where(mask_bg == 255, 0, rgba_bg[:, :, 3])
    # 转换倒pil并粘贴弹幕蒙版
    frame_image = Image.fromarray(cv2.cvtColor(frame,cv2.COLOR_BGR2RGBA))
    bg = Image.fromarray(rgba_bg)
    # frame_image.paste(bg)
    re = Image.alpha_composite(frame_image, bg)
    # cv2.imshow("e", frame_image)
    plt.imshow(re)
    plt.show()
    frame_index+=1